Grant Management
ClientTrack System Administration Guide

Written by April Lockett
Updated at October 2nd, 2023
Table of Contents

Grants in ClientTrack refer to various sources of funding received by a Client. This system allows for the recording of grants and the tracking of multiple records (Enrollments, Service Codes) which the Grant funds. Grants are one of the primary filters found on ClientTrack push-button reports.
Navigation
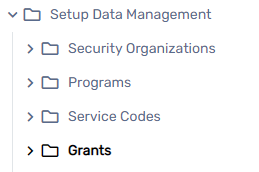
Grants are managed by going to the Home workspace, Setup Data Management menu group, expanding the Setup Data Management option, and selecting Grants. This screen will display the grants available in the system. Existing grants can be modified by selected the Action button next to the grant and selecting Edit Grant.
Adding a New Grant
Adding a New Grant
New grants can be set up by using the Add New or Quick Add New buttons at the top of the form. The Quick Add New form is a modified version of the in-depth grant setup form outlined below.
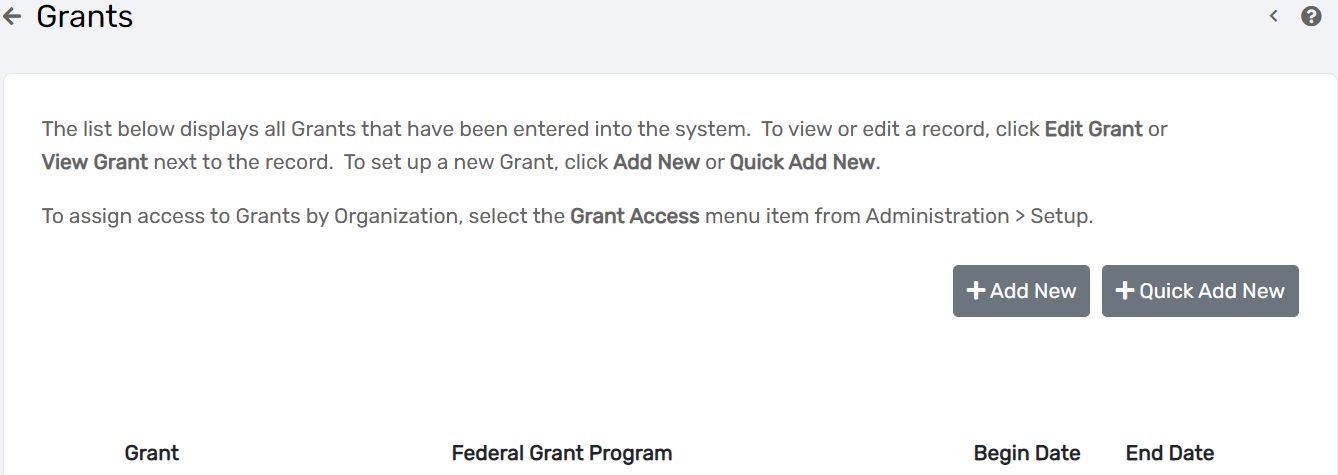
- On the Grant Management search form, select Add New.
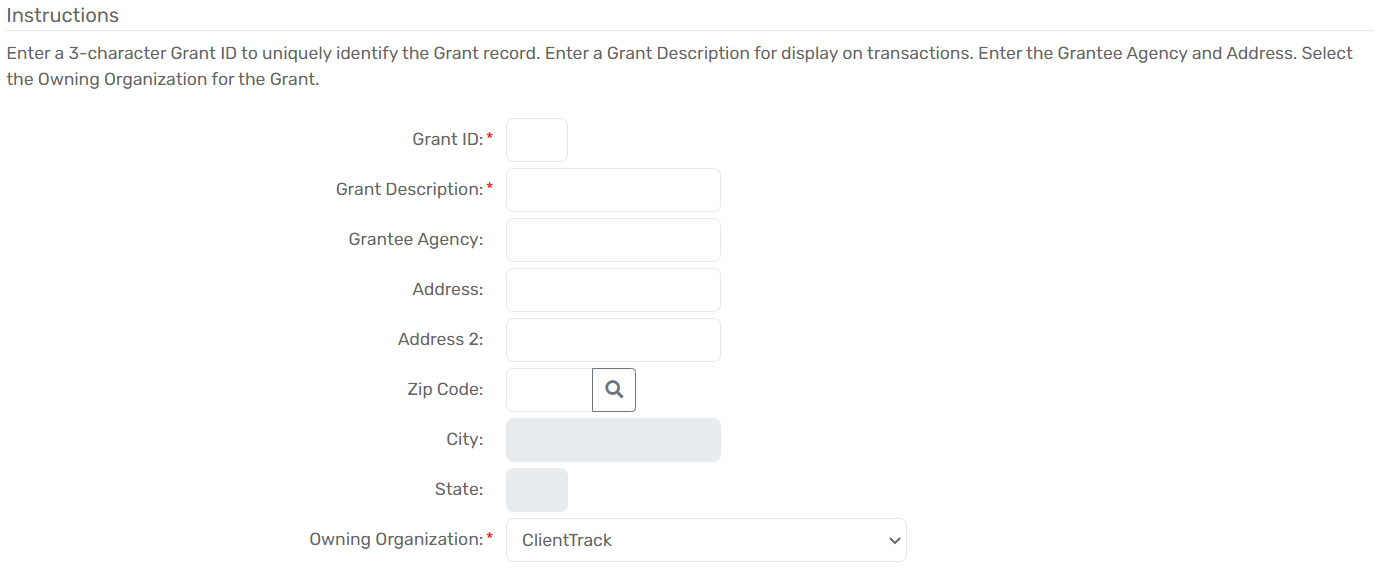
- If not automatically generated, enter a Grant ID, which, as specified in the form instructions, must be a unique three-character ID.
| Please Note: One- and two-character Grand IDs will cause duplication errors if they match any part of another Grant ID. |
- Enter a Grant Description. This determines how the grant will be identified in search forms and drop-down lists.
- If applicable, add a Grantee Agency and accompanying Address Information. These are used for reference and populating some reports.
- Select the Owning Organization. This identifies which organization has rights to edit the grant. The Owning Organization will default to the Organization the user is currently logged into.
- If necessary, check the Enrollment Required checkbox. This will not allow a client to receive services from that grant unless they are enrolled in a program tied to that grant.
- If applicable, use the Define Eligibility button to associate this grant with a pre-defined set of eligibility criteria.
- Select Next to continue on to the next form.
Additional Details Form

- Set the Begin Date and End Date. This defines the date range the grant will be accessible to associate with program enrollments and services.
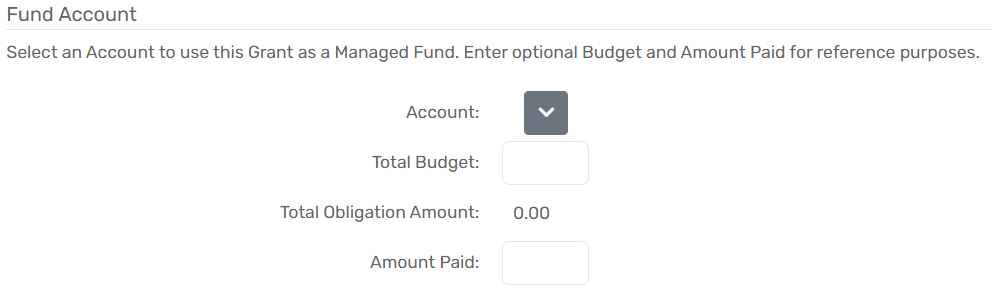
- If applicable, use the Account drop down list and select an account or add a new account that uses this grant as a Managed Fund.
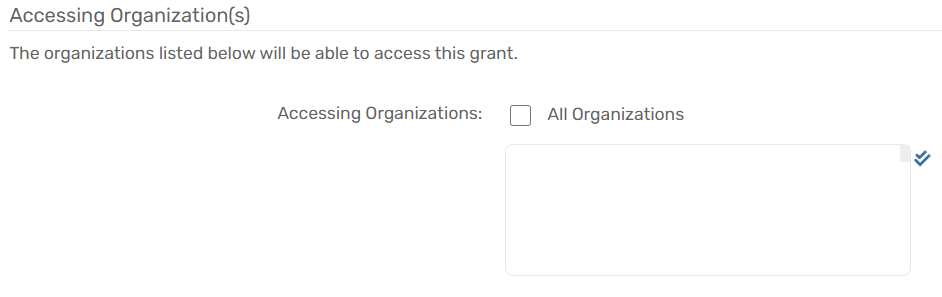
- Use the Accessing Organization multi-select box to select which organization(s) will have access to this grant. This box manages the information specific to this grant.
| Please Note: To manage access to multiple grants for an organization, see Controlling Organization Access to Grants below. |
- Select Next to continue on to the next form.
Project Information Form
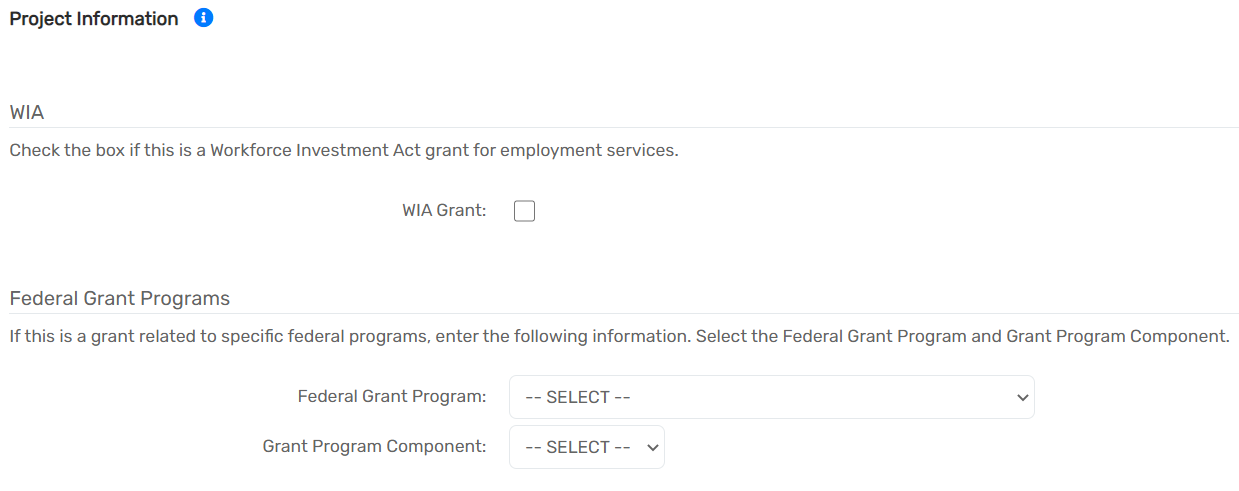
- Select WIA Grant if the grant is a Workforce Investment Act grant for employment services.
- For Federally funded grants, select the appropriate Federal Grant Program and the corresponding Grant Program Component.
- Select Finish and be returned to the Grants search form.
Organization Access to Grants
Organization Access to Grants
Grant access can be controlled on a grant-by-grant basis using the Accessing Organizations field as explained in the section above. Mass changes to grant access are better managed through the Grant Access form.
Navigation
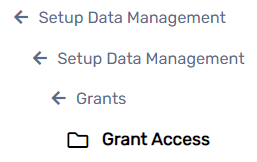
The Grant Access screen can be found by going to the Home workspace, Setup Data Management menu group, expanding the Setup Data Management option and selecting Grant Access.
Giving an Organization Access to Existing Grants
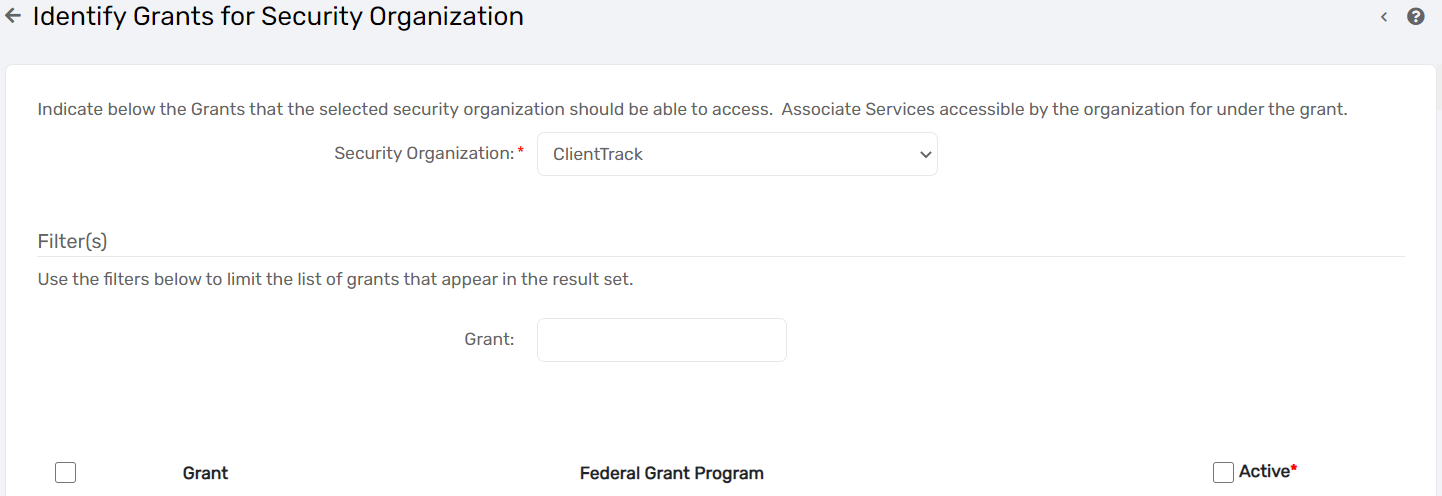
- Select the Security Organization the user wants to manage the access for. The form will default to the organization the user is currently logged into.
- If necessary, filter which grant records appear using the Grant open text field.
- Check or uncheck the Active box next to the grant to give or remove access for the selected Security Organization.
- Save your changes using the Save button at the bottom of the form.
Programs Funded by a Grant
Programs Funded by a Grant
Before processing, verify that your programs are set up in the system, using the Programs Management document. ClientTrack offers the system administrator specific control over which programs can be funded by which grants.
Navigation
Managing this from the grant perspective is accomplished by going to the Home workspace, Setup Data Management menu group, expanding the Setup Data Management option and selecting Grant Access.
Associating Programs with a Grant
-
On the Grant Access form, select the second icon next to the grant of interest to view
Programs Funded by this Grant.

- Find the needed program in the list of all programs accessible to the Selected Organization.

- Set the relationship between the program and grant by entering a Begin Date and End Date.
- Save your changes using the Save button at the bottom of the form.
- This relationship, once created, is enforced on the Enrollment form.
