Exporting and Importing Queries
Learn how to export and import queries between different environments.

Written by Wally Lugo
Updated at August 23rd, 2023
Table of Contents
Introduction
ClientTrack allows users to export and import queries within Query Designer. There are many reasons why users would want to import a query. It could be a query shared by another ClientTrack community, the original query was created in a different instance of their implementation or it is a query shared by Eccovia.
Note: User must have access to Query Designer to be able to export or import a query
Note: If a query uses any custom tables they will have to be created in the receiving instance prior to completing the import process
Navigate to Query Designer
Home > Global Administration > ClientTrack IDEA > Query Designer

The Query Designer “Choose a Query” popup window will appear.
Export a Query
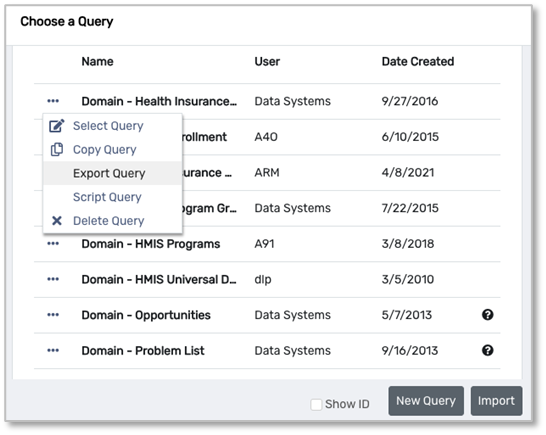
To export a query, click the icon next to query you wish to export and select “Export Query”.
Save the file to your local hard drive or other location.
Import a Query
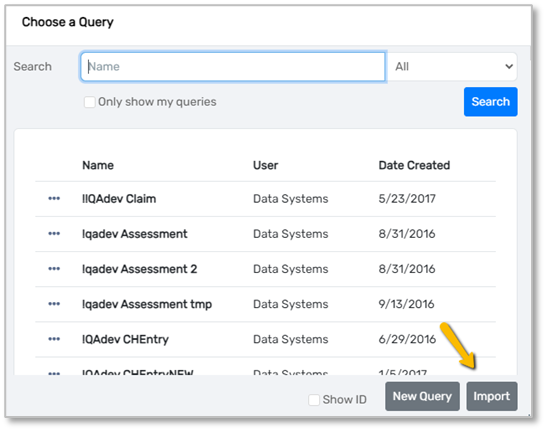
To import a query, click the “Import” button at the bottom right of the window.
Click “Browse”.

Tip: The file for import may also be dragged into the “Import Bar” from a File Explorer window
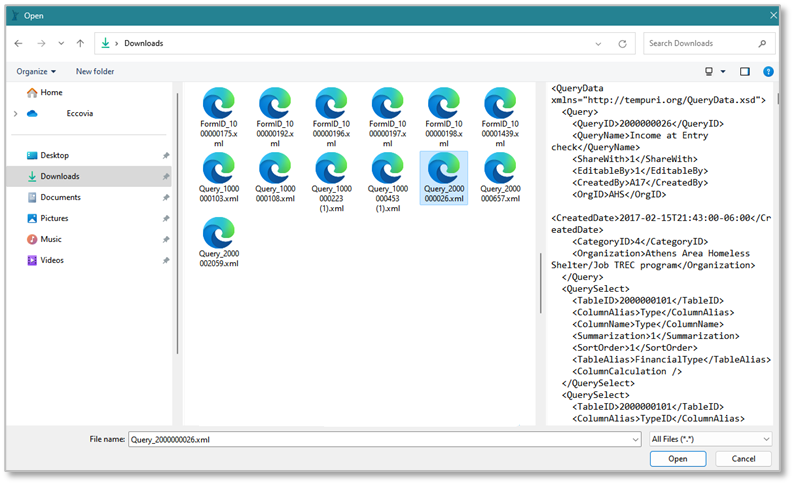
Use the dialog box to navigate to the file and select the file to import.
Click “Open”.
The dialog box will close and the file name will appear in the “Import Bar”.
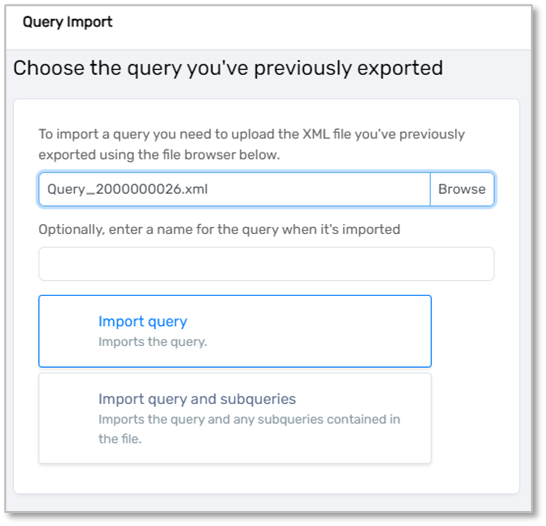
Note: If a name is entered in the optional text box below the “Import Bar” it will overwrite the original name of the query. This can also be changed in Query Designer properties after the query has been imported.
Click “Import query”.
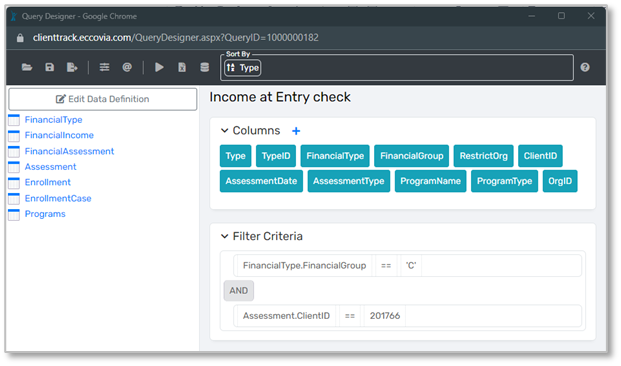
The query will open ready to be run or updated.
The QueryID will be the next one available in the instance as if a new query had been created.