
New grants can be set up by using the Add New or Quick Add New buttons at the top of the form. The Quick Add New form is a modified version of the in-depth grant setup form outlined below.
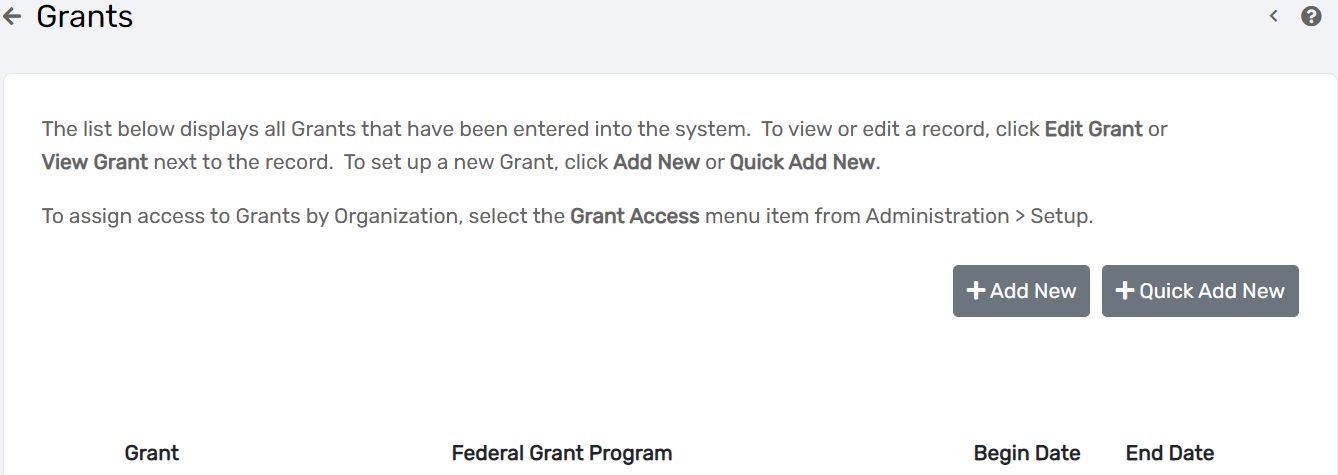
- On the Grant Management search form, select Add New.
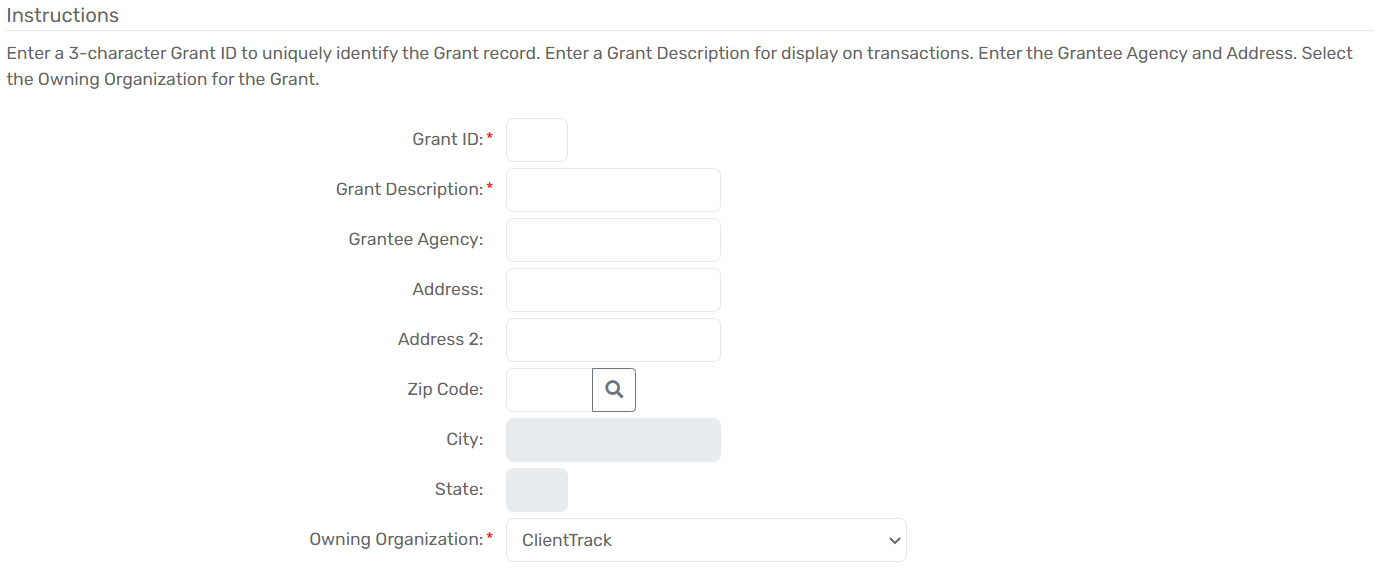
- If not automatically generated, enter a Grant ID, which, as specified in the form instructions, must be a unique three-character ID.
| Please Note: One- and two-character Grand IDs will cause duplication errors if they match any part of another Grant ID. |
- Enter a Grant Description. This determines how the grant will be identified in search forms and drop-down lists.
- If applicable, add a Grantee Agency and accompanying Address Information. These are used for reference and populating some reports.
- Select the Owning Organization. This identifies which organization has rights to edit the grant. The Owning Organization will default to the Organization the user is currently logged into.
- If necessary, check the Enrollment Required checkbox. This will not allow a client to receive services from that grant unless they are enrolled in a program tied to that grant.
- If applicable, use the Define Eligibility button to associate this grant with a pre-defined set of eligibility criteria.
- Select Next to continue on to the next form.
Additional Details Form

- Set the Begin Date and End Date. This defines the date range the grant will be accessible to associate with program enrollments and services.
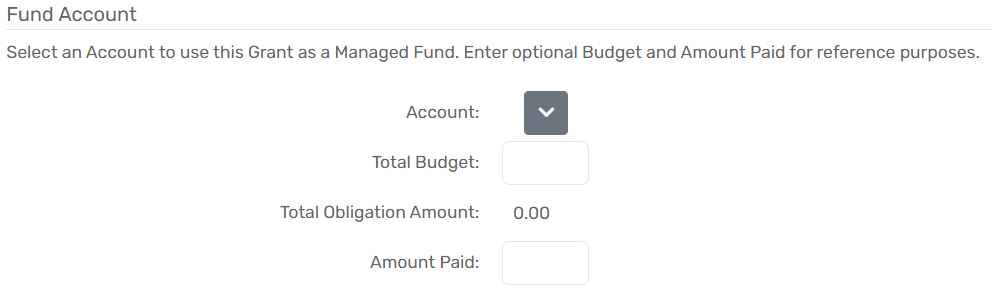
- If applicable, use the Account drop down list and select an account or add a new account that uses this grant as a Managed Fund.
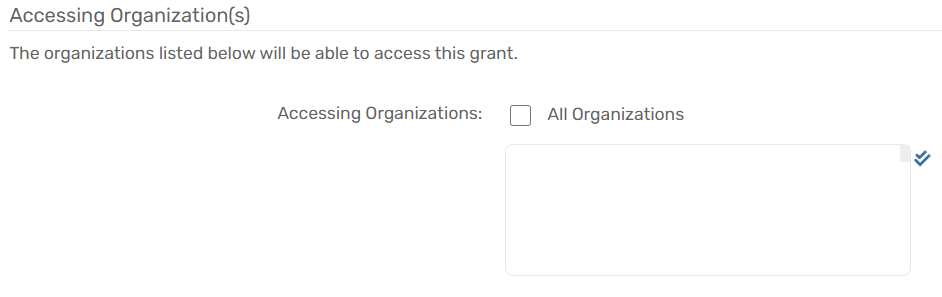
- Use the Accessing Organization multi-select box to select which organization(s) will have access to this grant. This box manages the information specific to this grant.
| Please Note: To manage access to multiple grants for an organization, see Controlling Organization Access to Grants below. |
- Select Next to continue on to the next form.
Project Information Form
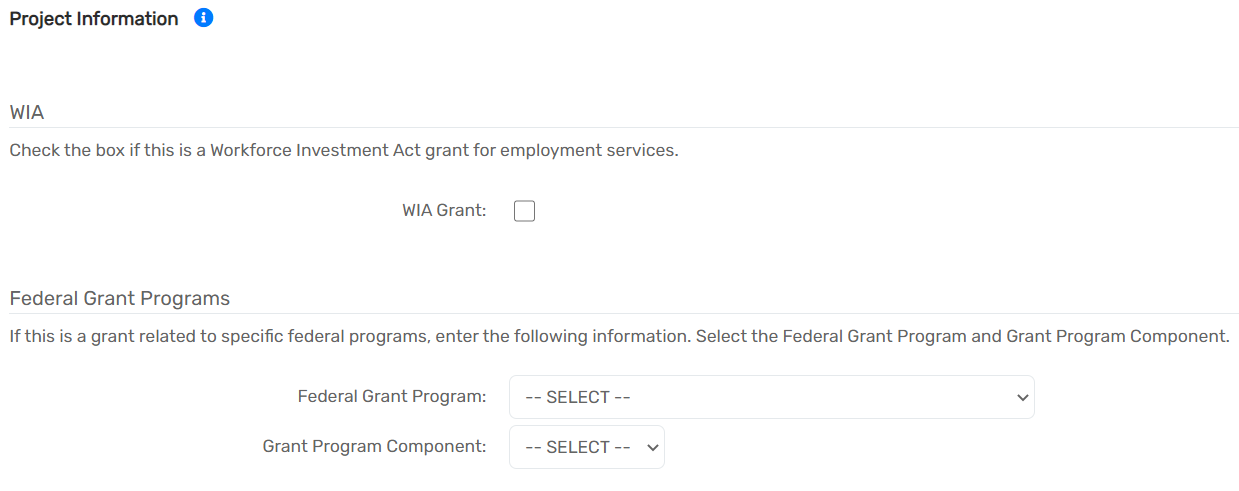
- Select WIA Grant if the grant is a Workforce Investment Act grant for employment services.
- For Federally funded grants, select the appropriate Federal Grant Program and the corresponding Grant Program Component.
- Select Finish and be returned to the Grants search form.
